Read this post to understand how to create a CTR manipulation campaign targeting Google Search.
Tip: Please don’t hesitate to get in touch if you need help setting up the campaign. It might seem like there are many steps, but in reality, the whole process takes less than 10 minutes for the first time and less than 5 minutes subsequent times.
Tip: The reason why we avoid to implement automation with Google Search Console is that we don’t want Google to know that your website is using a CTR manipulation tool.
We understand the set up is a bit more complicated this way, but you can never be too safe.
Tip: We are happy to setup the campaign for you, for free!
We are also happy to review your campaign to make sure it’s all set!
Alert: Our latest tests indicate that Google doesn’t look at individual websites’ CTR but at the overall search CTR. If there is a certain website that gets most of the clicks for a family of keywords, that’s the website that will rank the highest. So you need to consider the number of searches for your keywords as the improvement target and not the CTR for your website.
For example, if you’re looking to optimize for a family of keywords and each keyword has 10k searches per day but you send 1k clicks to your website, Google sees that your website gets only 10% of the clicks, even if your CTR is 80%+. You need to send 8k clicks per day so that google sees there are 18k searches per day but 8k clicks go to your website, which is about 50% of all clicks. That is the signal that Google is after.
Tip: You need to look at the results on the SERP as if they were a contest between all the results:
- Who has the highest CTR
- Who is the oldest
- Who has the most relevant content
- Who has the most backlinks
- Who has the fastest website.
The winner will rank first. So you just need to have a better CTR than your competitors.
For first page ranks, usually the CTR is about 20-30% so aim for that. Use Google Search Console to understand the monthly searches and base your calculations on that.
Alert: The purpose of the free plan is to demonstrate that you can see the traffic in your Google Search Console and in Google Analytics. Thus given its traffic and keywords limitations, the ranking effect will be extremely limited, if any (under the free plan).
1. Navigate to your dashboard
2. Click "Create a new campaign"

3. Click "Google Search"

4. Click this input field and provide an easy-to-recognise campaign name.

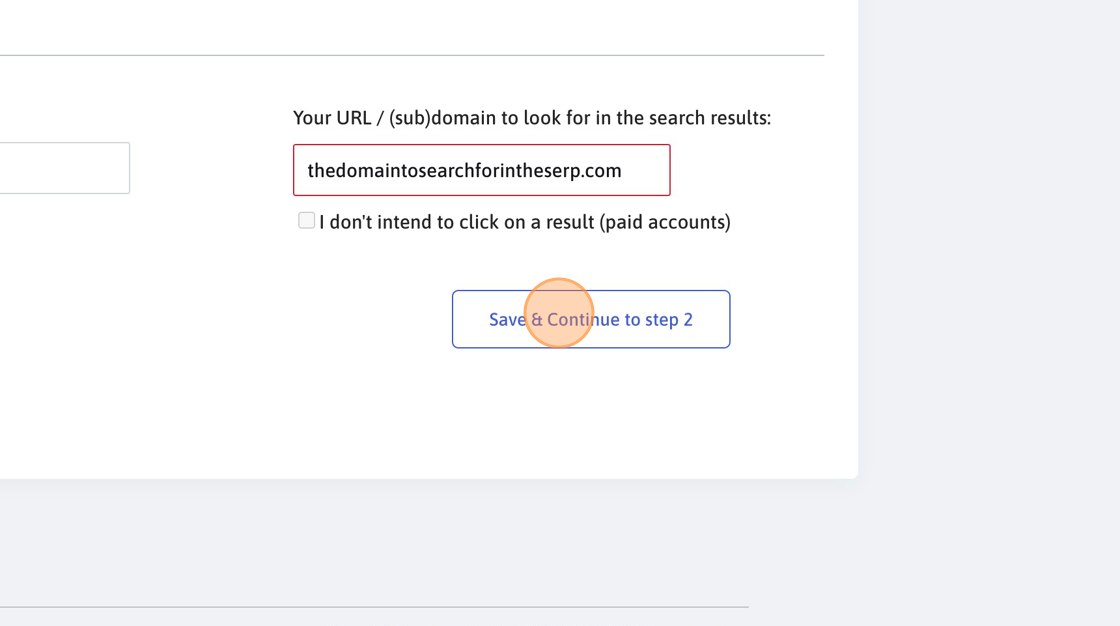
5. Click the "Domain to search in results" field. Here you need to insert either the domain (subdomain) name our system will click on when found in the SERP or the exact URL you want to look for. Our system will first try to click on the exact URL (if provided) and if not found, it will look for the domain of the URL you provide.
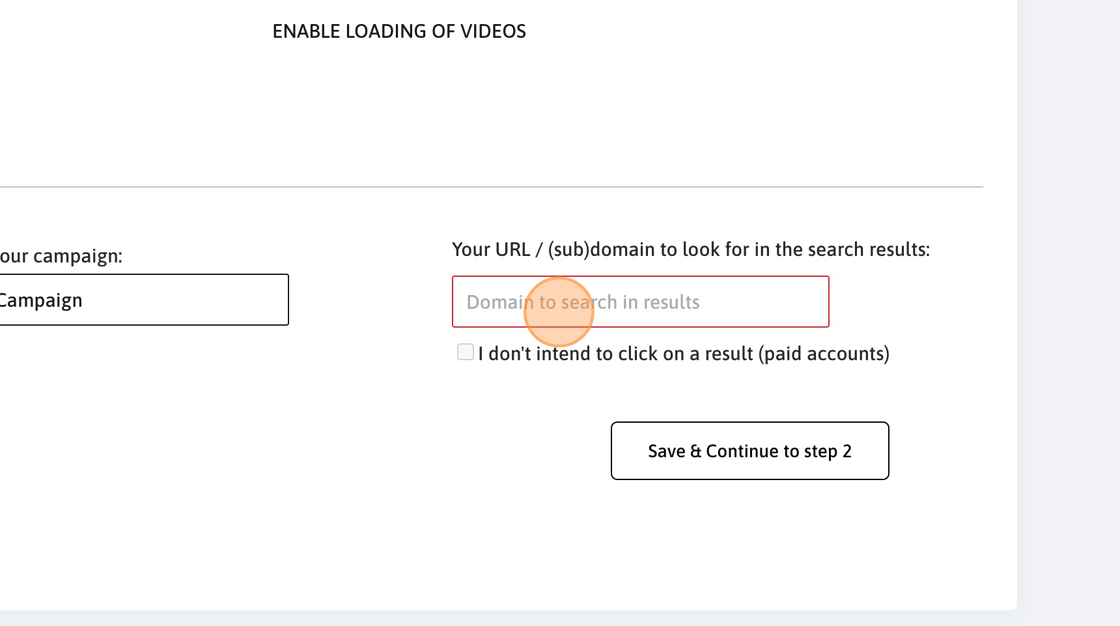
Alert: Make sure you use the correct domain or subdomain here. If you’re using "www.something.com" but in the SERP your listing shows up as "something.com", it will be not found.
6. Click "Save & Continue to step 2"
Tip: The "Just search, don’t click" option will simply search for the keywords you define, load up to 5 pages of the SERP and will NOT click on any result. It has the purpose of diluting the CTR for some keywords. This is for advanced users, only.
Tip: The daily traffic allocation reduces the number of clicks you receive on a specific day of the week.
For example, if a keyword has 100 clicks per day, on a Wednesday with 90% allocation, it will receive around 90 clicks per day.
For smaller accounts, we recommend you set it at 100% for every day, so you don’t lose the trafic.
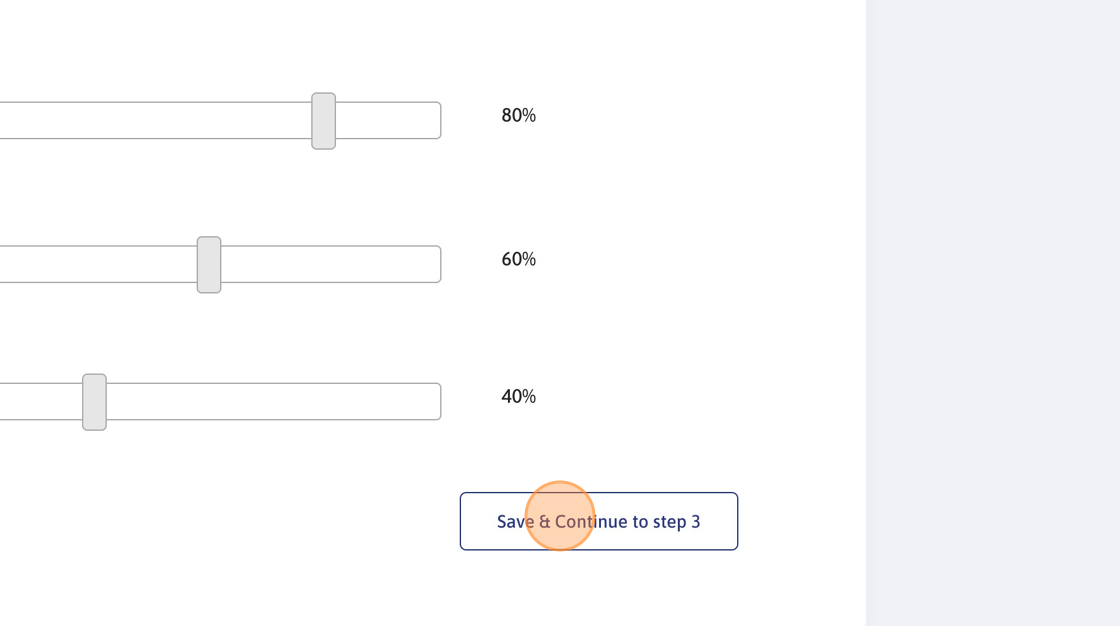
7. Click "Save & Continue to step 3"
Alert: We have noticed that many of our clients are using 3rd party software to identify the position in the SERP for their keywords (Ahrefs, Moz etc). We noticed they lack the reliability provided by Google itself so please don’t use them to generate keywords and don’t use them to track the results. Please just use Google Search Console. No one knows Google better than Google.
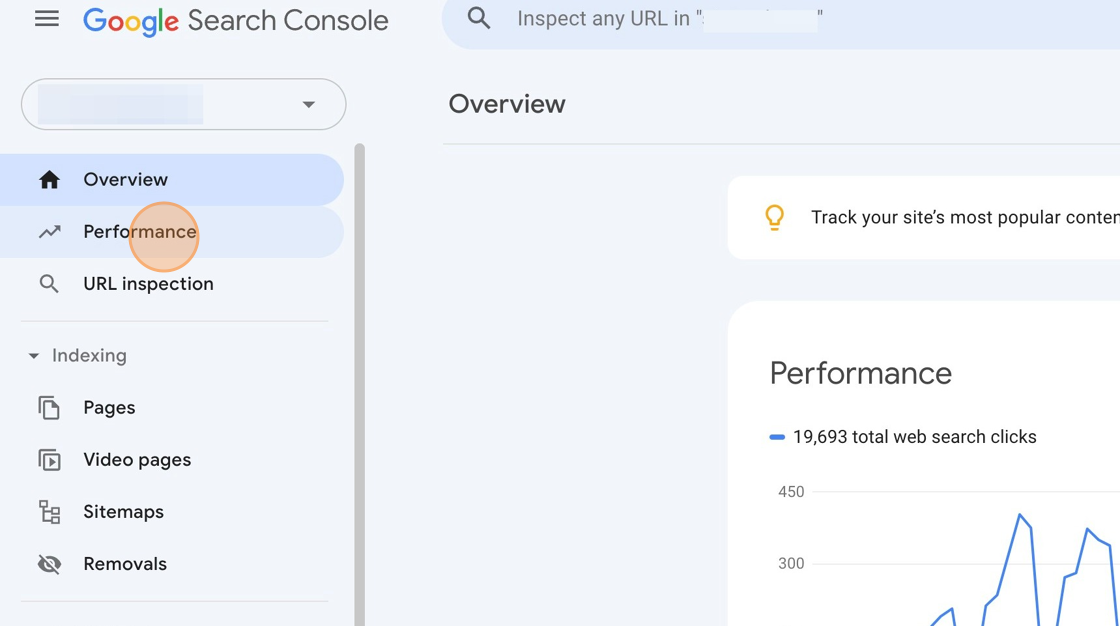
8. Navigate to Google Search Console for the domain you want to promote at https://search.google.com/search-console
9. Click Performance
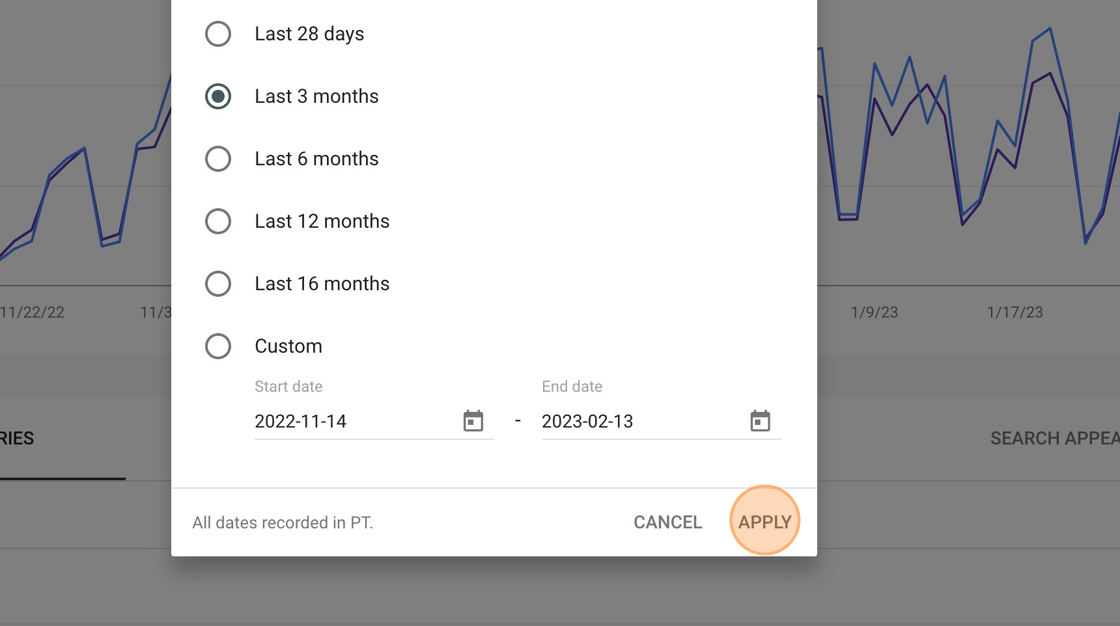
10. Make sure you’re setting the Last 3 months.
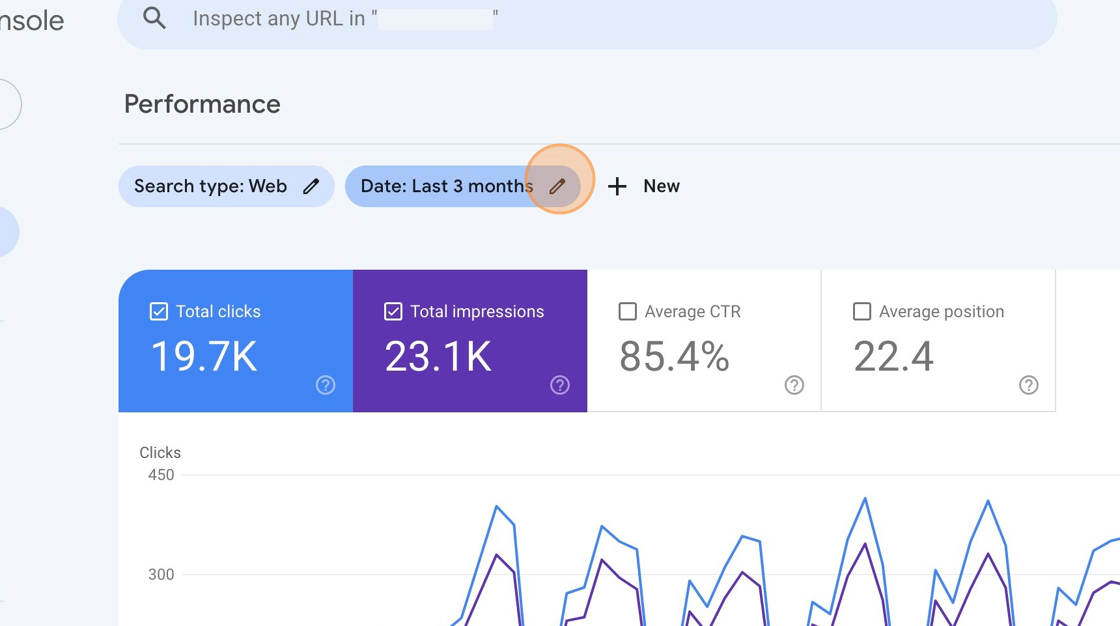
11. Click "Last 3 months"

12. Click "APPLY"
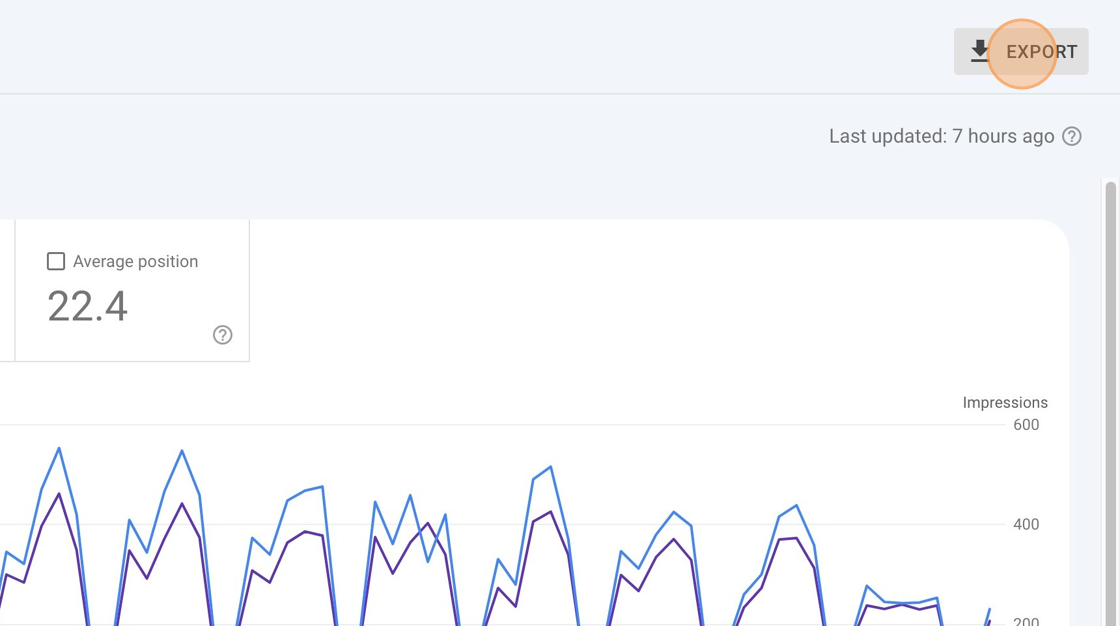
13. Click "EXPORT"
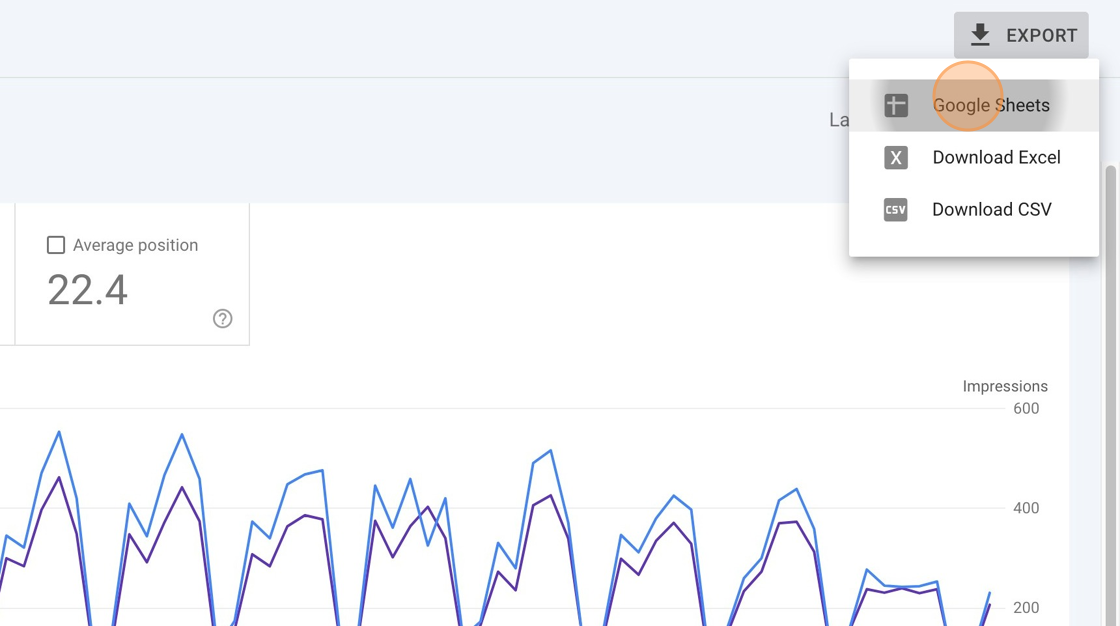
14. Click "Google Sheets"
15. Switch to the newly created Google Sheets tab.
Tip: The Top of the Results system only looks for your website in the SERP’s first 4-5 pages. So what we’re doing now is removing all the keywords that are listed on position 25+. These keywords are usually very volatile and sometimes they appear on page 3 and sometimes on page 5. We want to avoid this.
16. Click here.
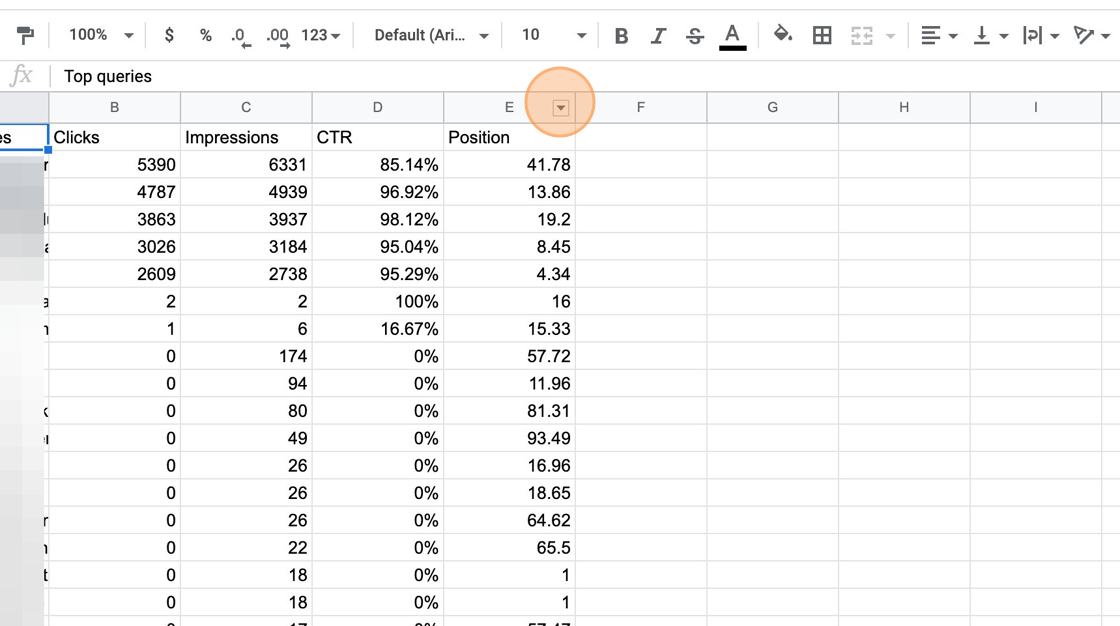
17. Click "Data"
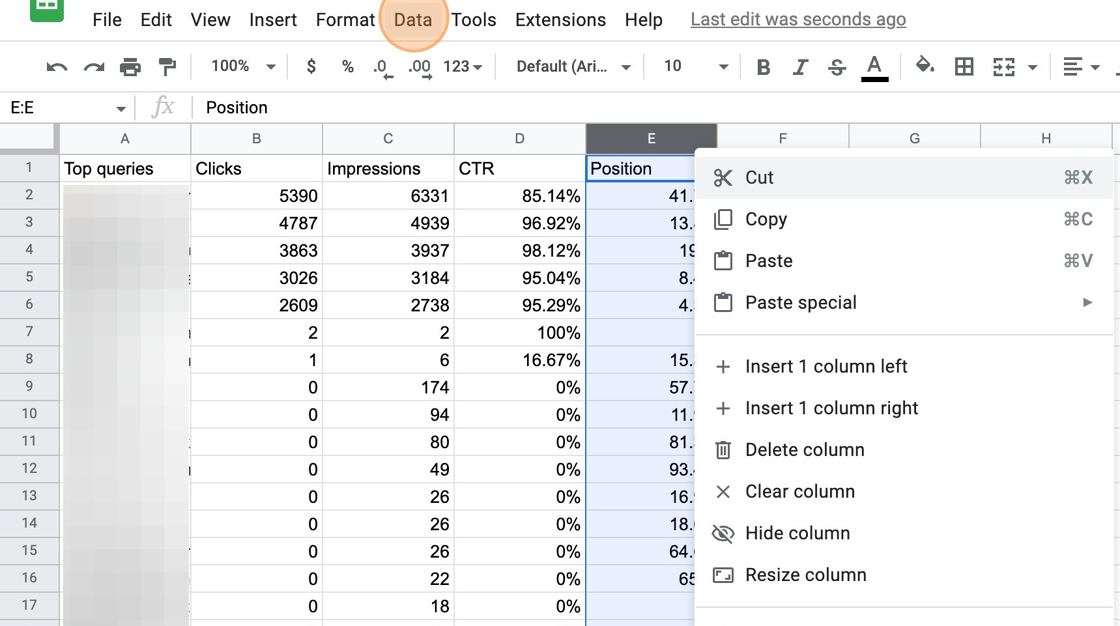
18. Click here.
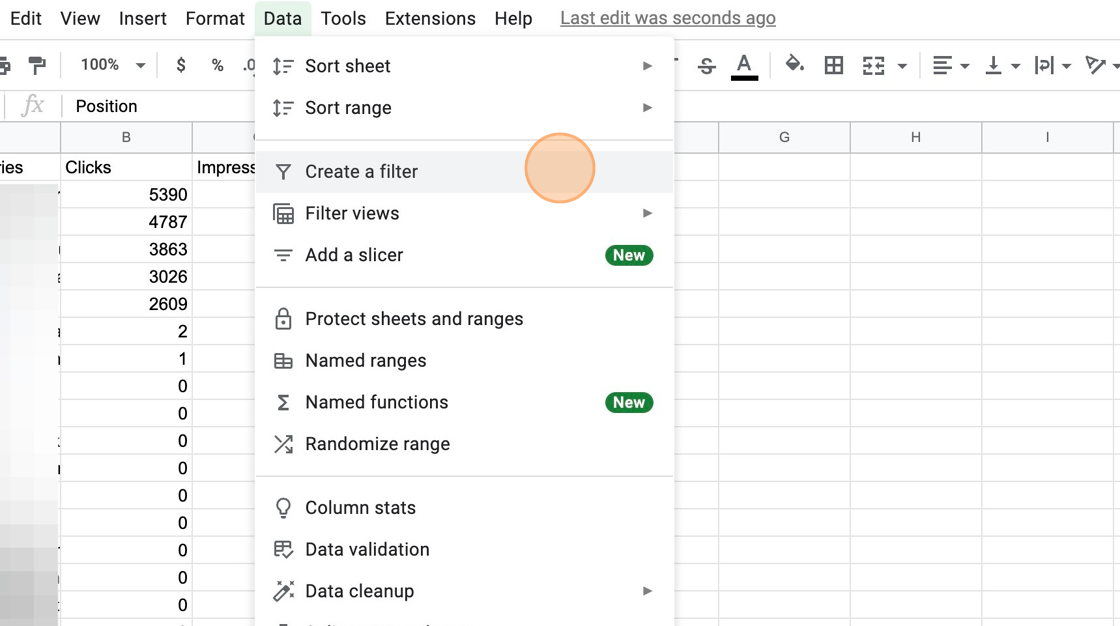
19. Click here.
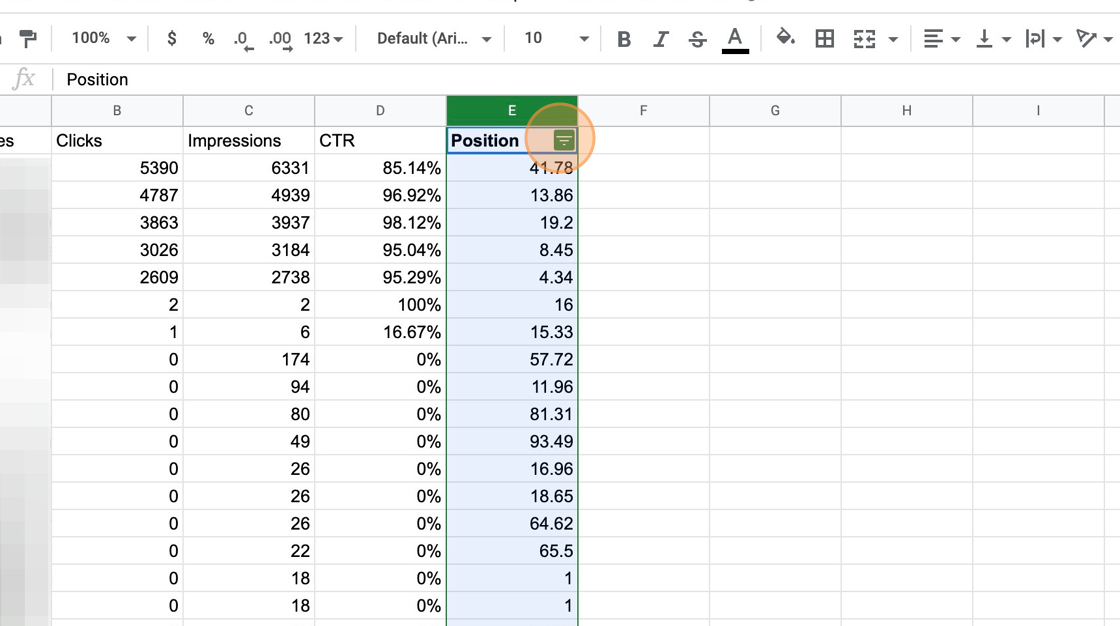
20. Click here.
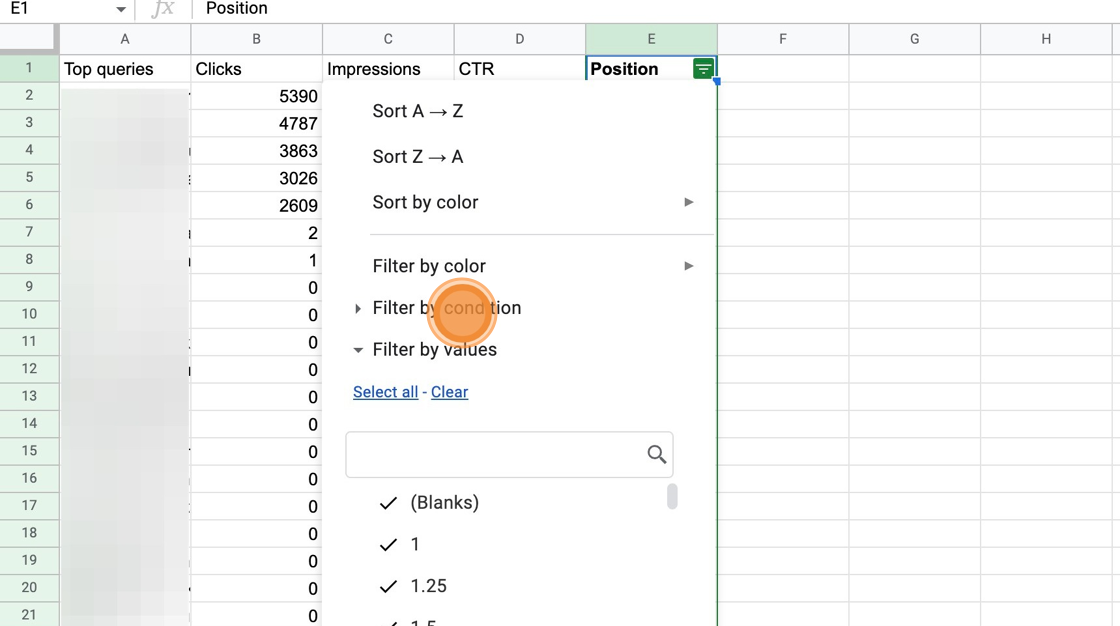
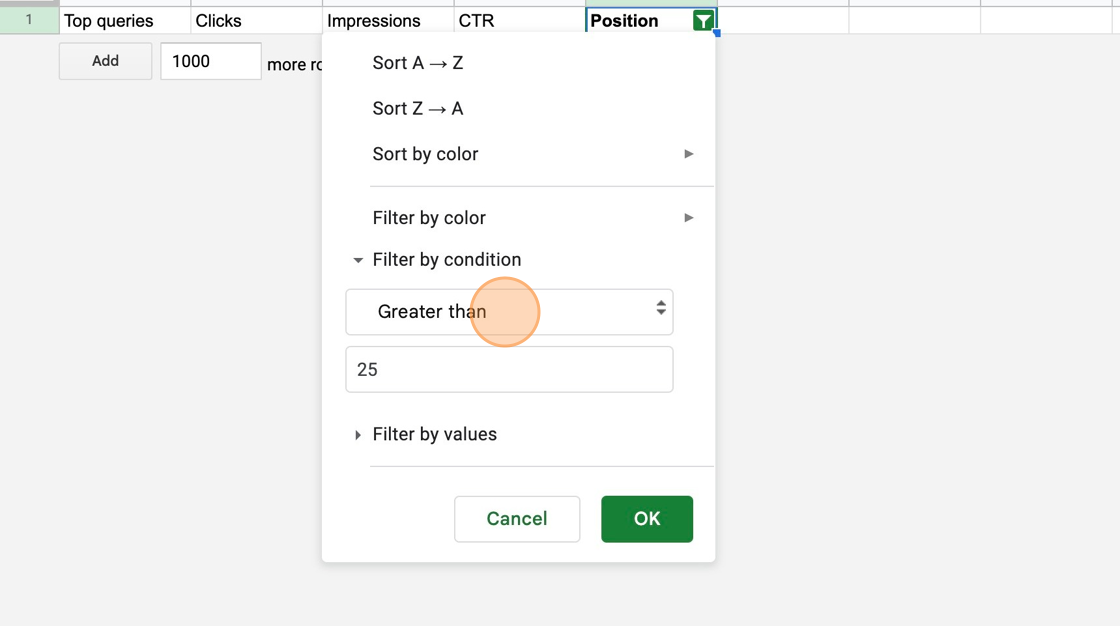
21. Click "Greater than"
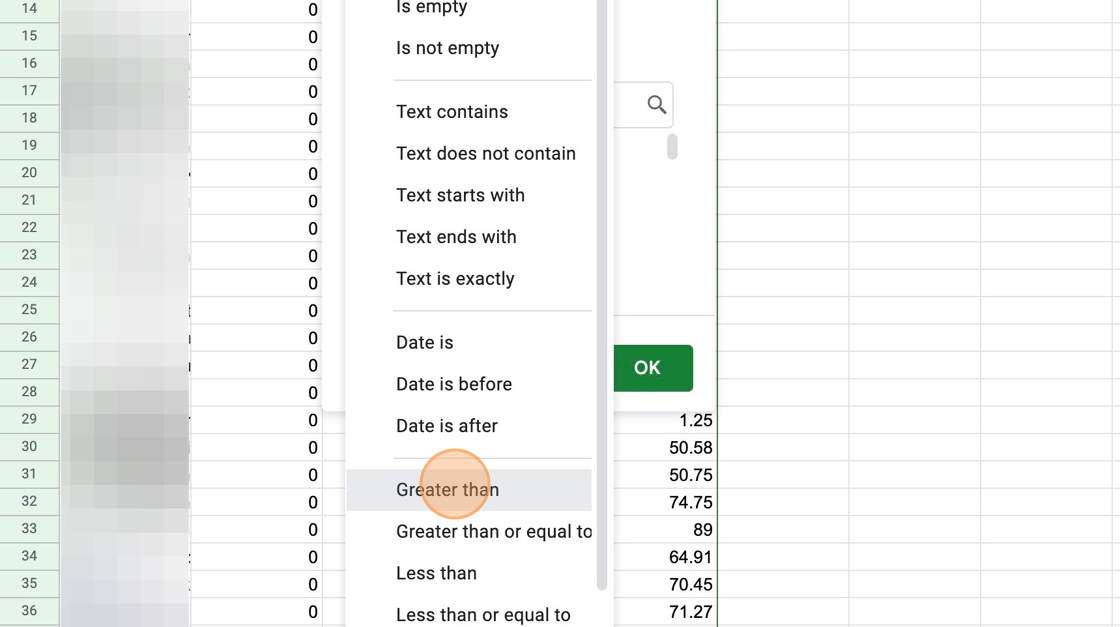
22. Click the "Value or formula" field.
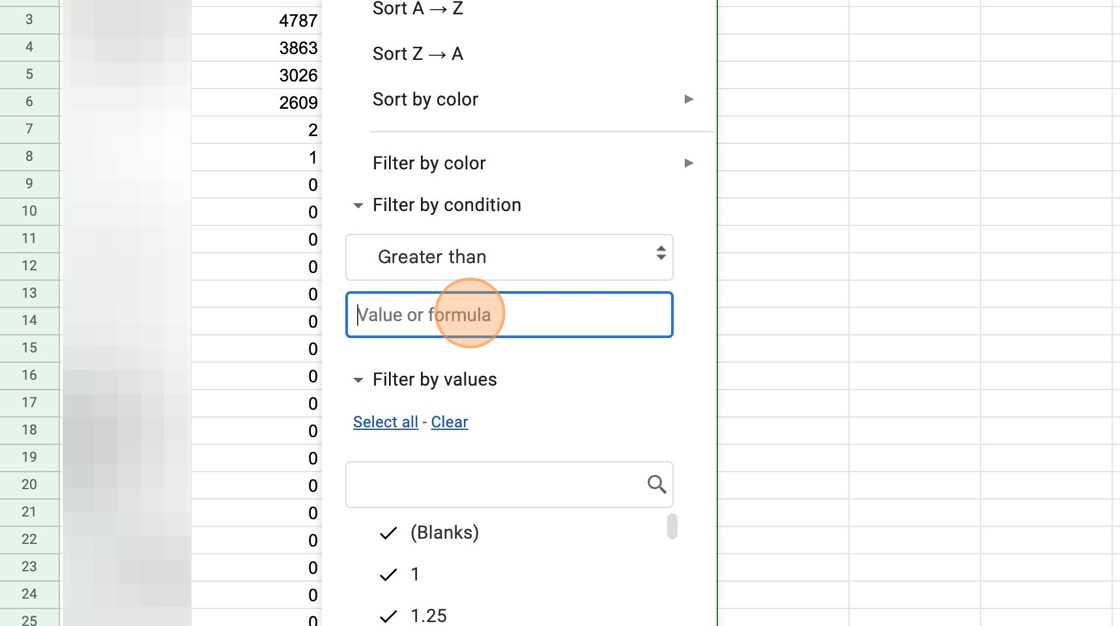
23. Type "25" to select all the keywords that show you in position 25 and higher.
24. Click "OK"
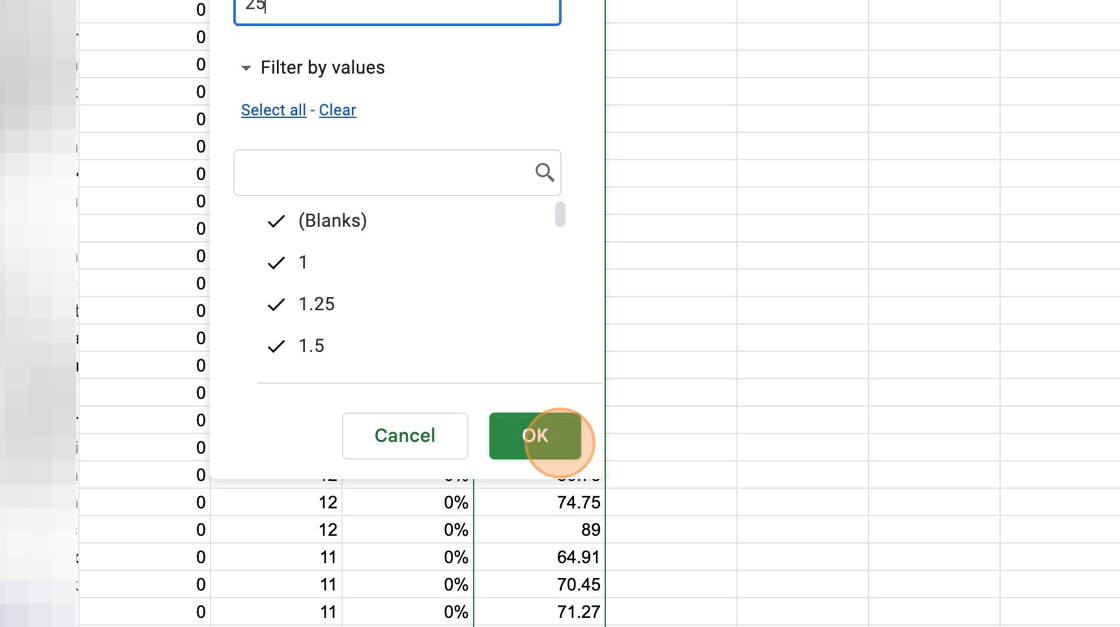
25. Select all of them (but not the column headers).
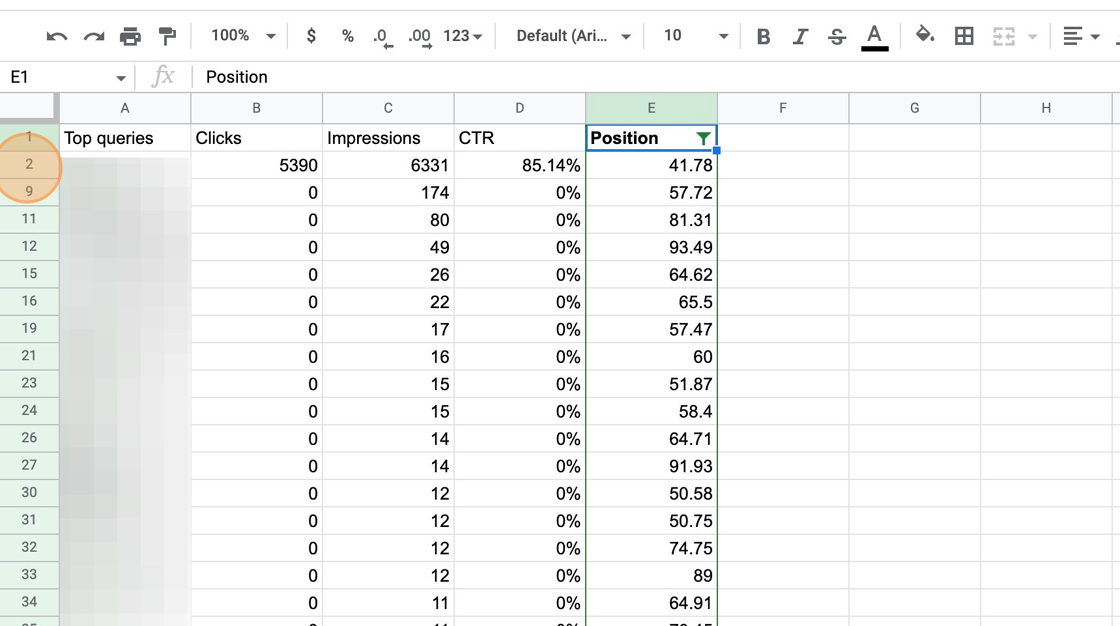
26. Right-click here.
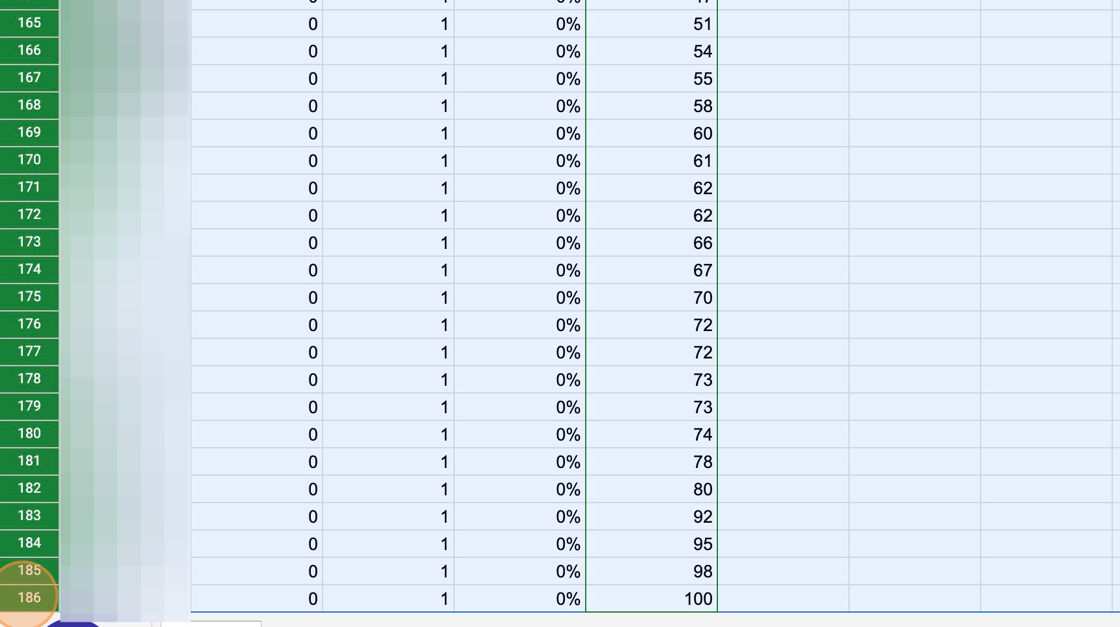
27. Click here.
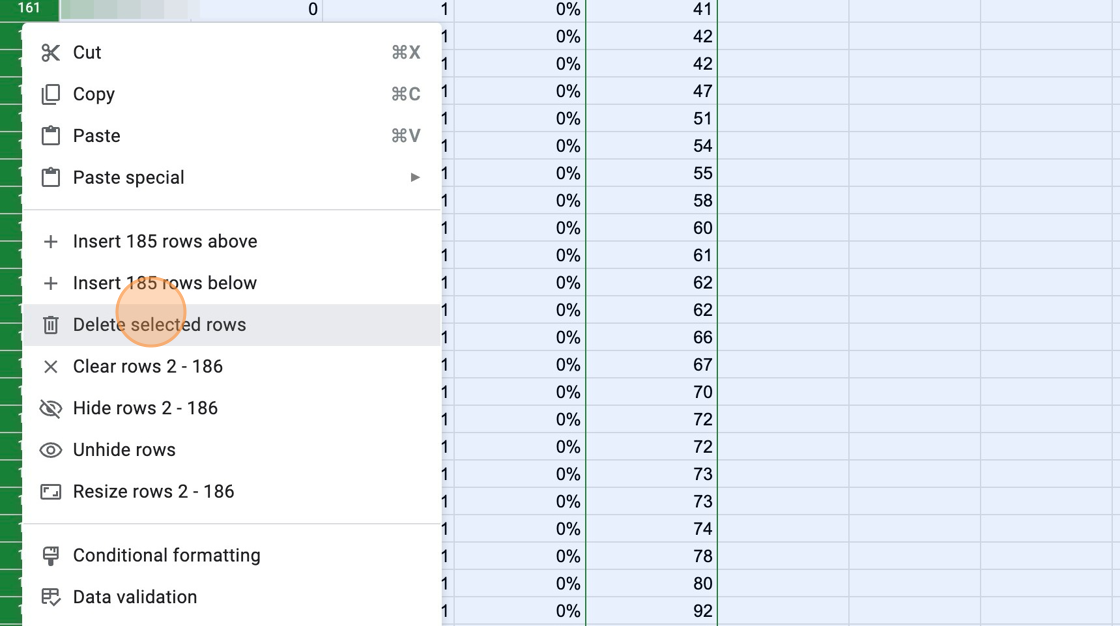
28. Click here to remove the filter.
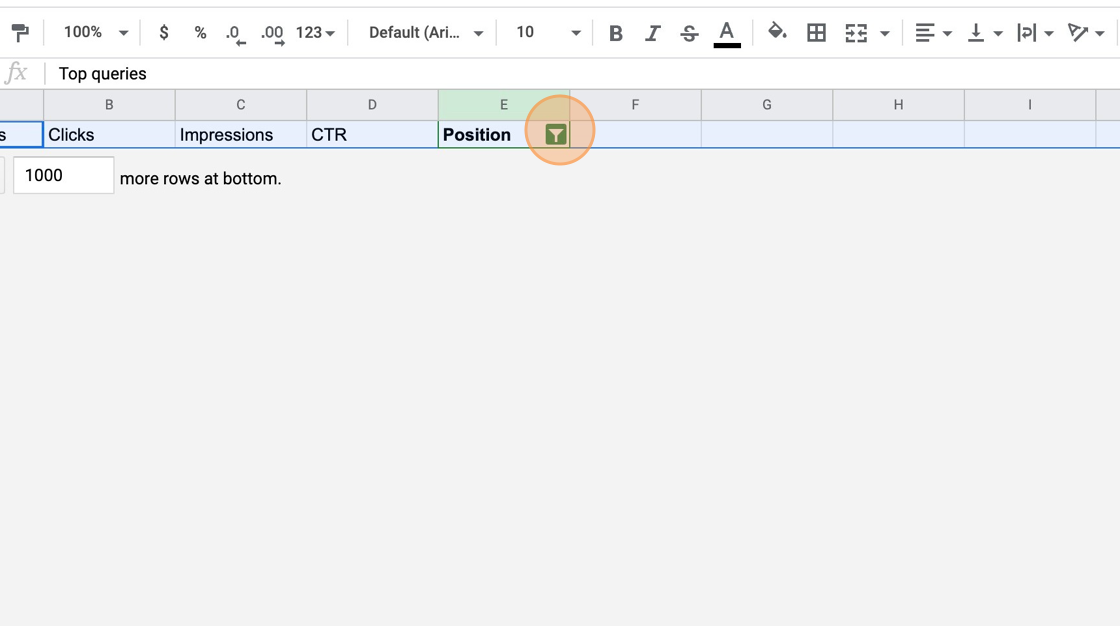
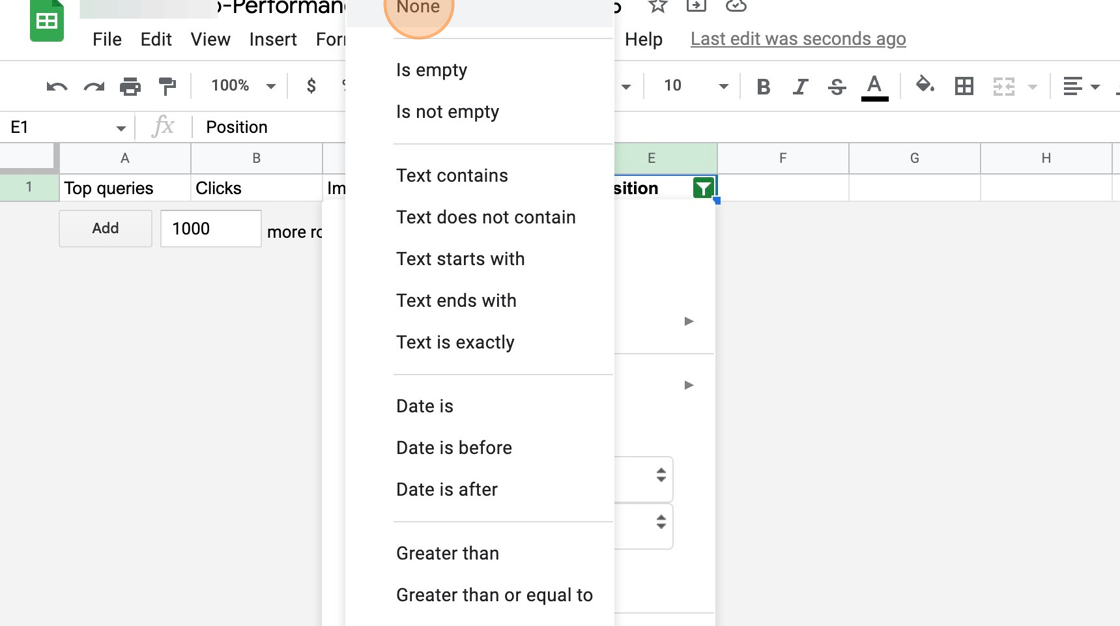
29. Click "Greater than"
30. Click "None"
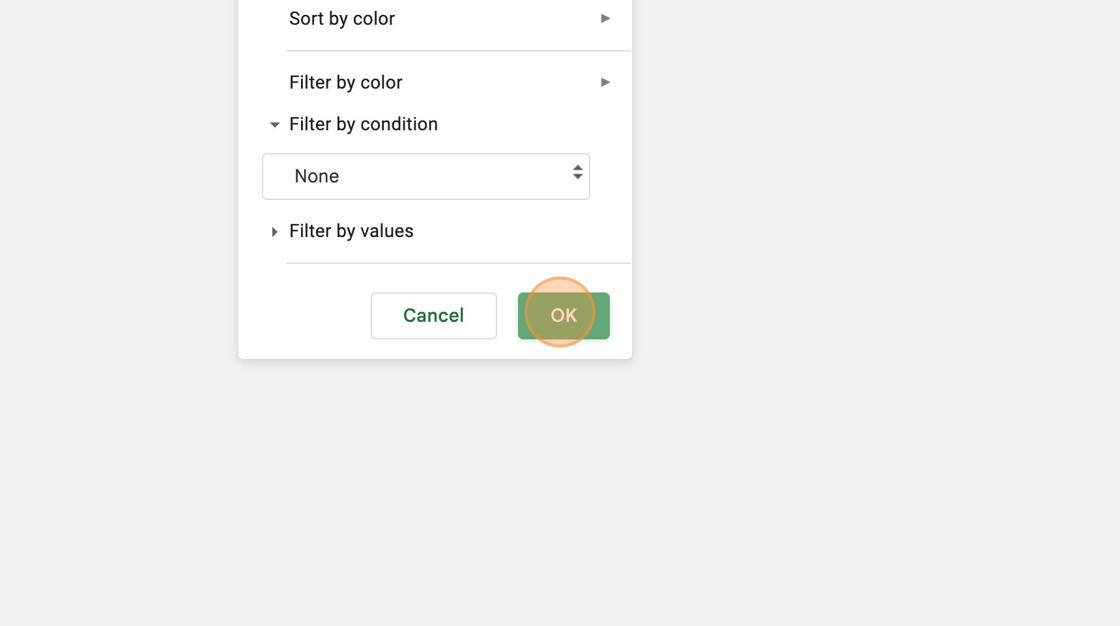
31. Click "OK"
32. Double-click here.
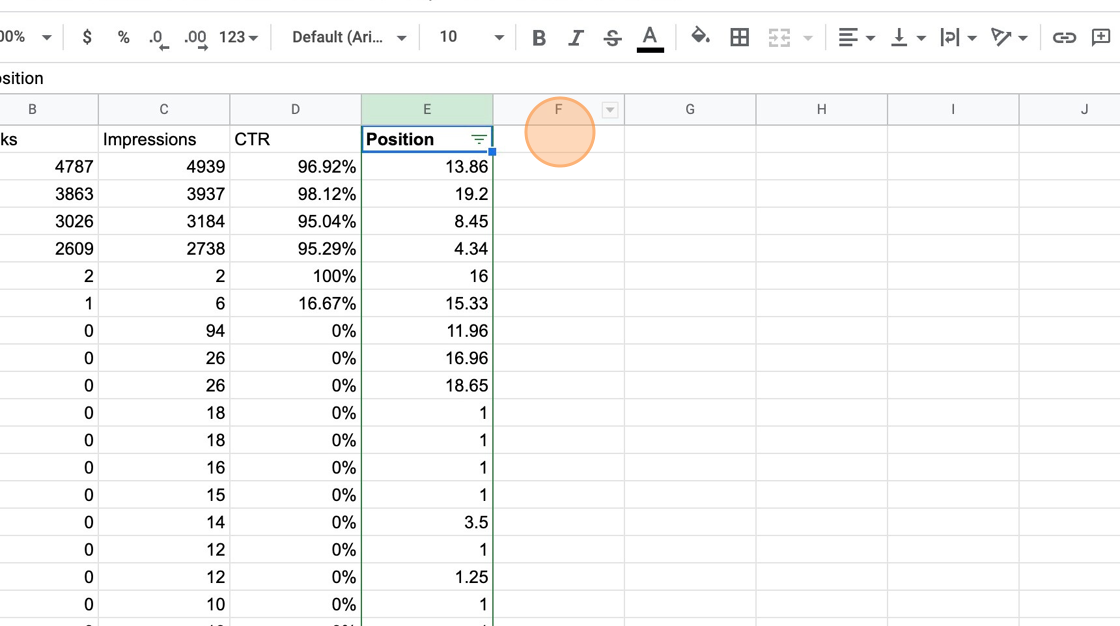
Tip: Now with the less relevant keywords out of the way, we’re going to prepare this file for import in Top of the Results.
33. Type "frequency [[enter]]"
34. Double-click here.
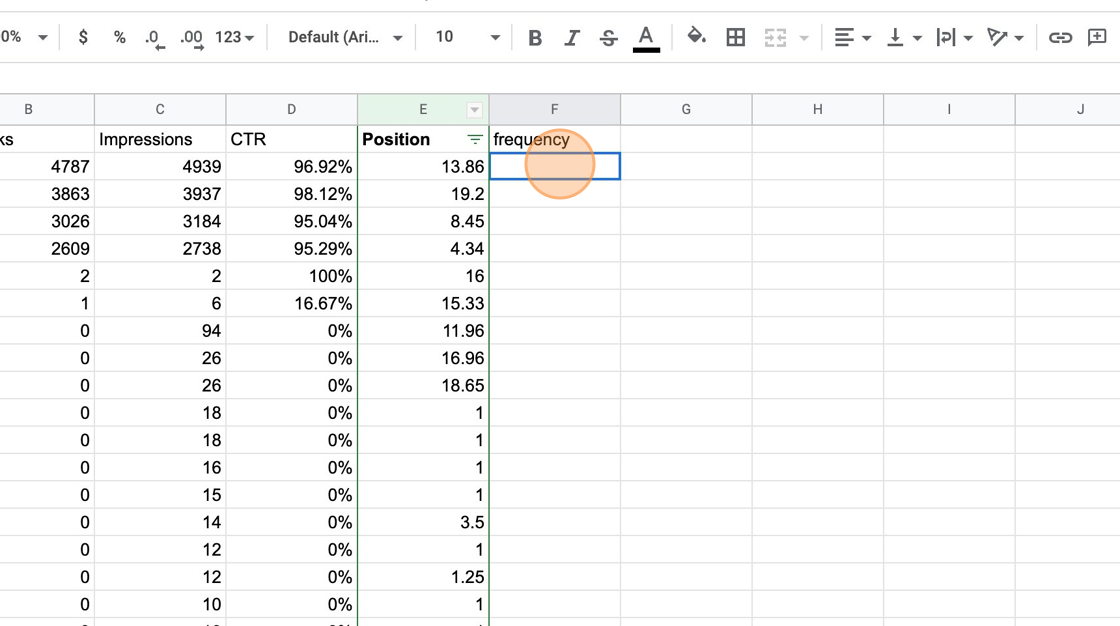
35. Paste this formula if you’re using Google Sheets:
=IF(CEILING(MULTIPLY(B2/90,0.3))=0,1,CEILING(MULTIPLY(B2/90,0.3)))
or use this one for non-English number formatting:
=IF(CEILING(MULTIPLY(B2/90; 0,3))=0;1;CEILING(MULTIPLY(B2/90; 0,3)))
or use this formula if you’re using Excel:
=IF(CEILING(PRODUCT(B2/90,0.3), 1)=0,1,CEILING(PRODUCT(B2/90,0.3), 1))
or use this one for non-English number formatting:
=IF(CEILING(PRODUCT(B2/90; 0,3); 1)=0;1;CEILING(PRODUCT(B2/90; 0,3); 1))
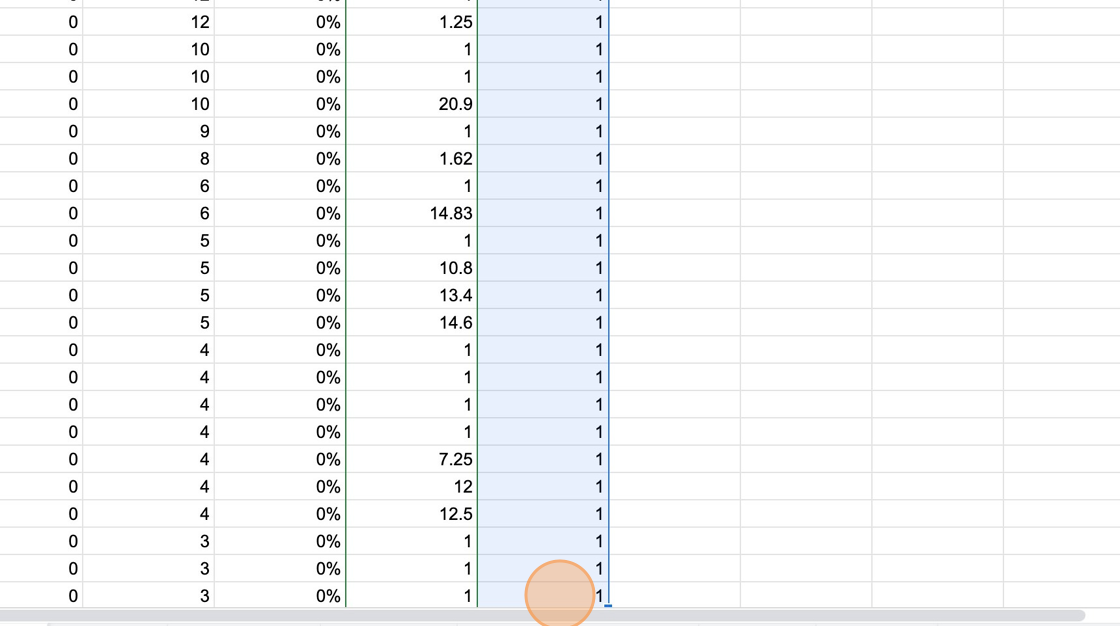
36. Apply the same formula in the entire column.

37. Manually set to "1" all the cells that are "0" in the frequency column. It might help to initially sort this column.

38. Click here.
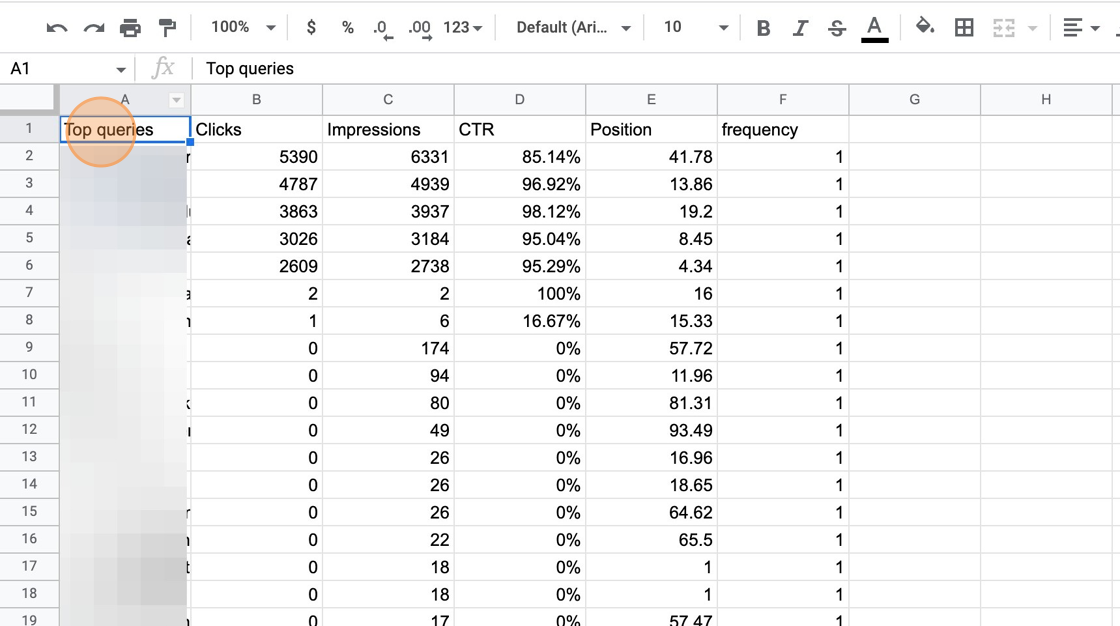
39. Rename the column "Top queries" to "keyword"
40. Click "File"
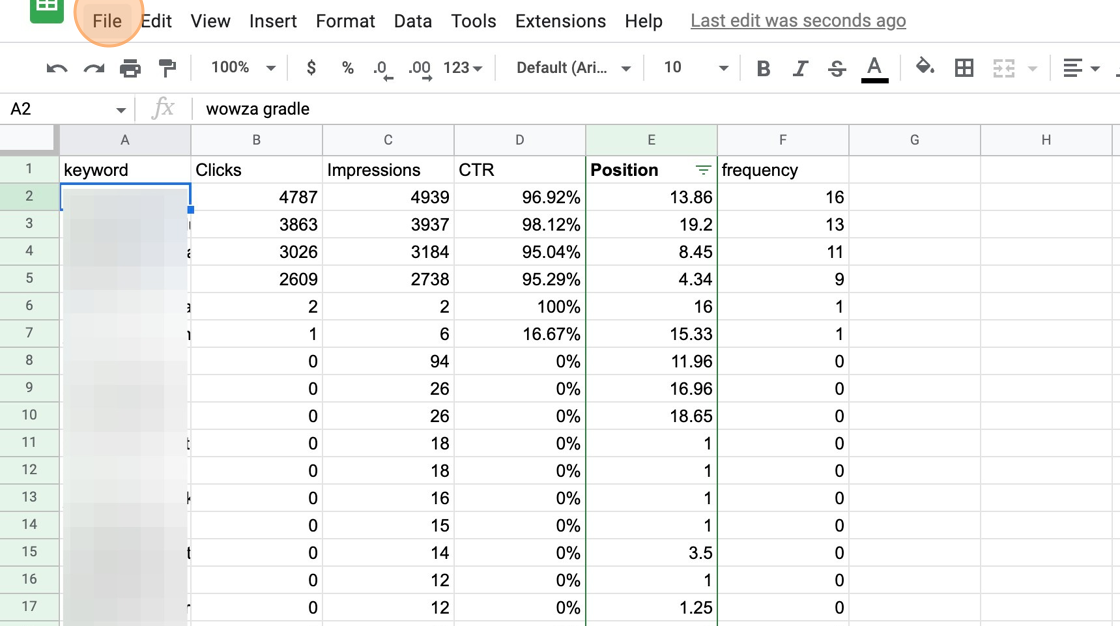
41. Select Download > "Comma Separated Values (.csv)"

42. Switch to tab "Top Of The Results Management Area"
Tip: Make sure there are fewer than 100 lines in the CSV you just generated. Please split it into multiple CSVs and perform multiple uploads if you need to add more than 100 keywords.
43. Now upload the CSV file you just generated.

44. Click "Finish and go live!"
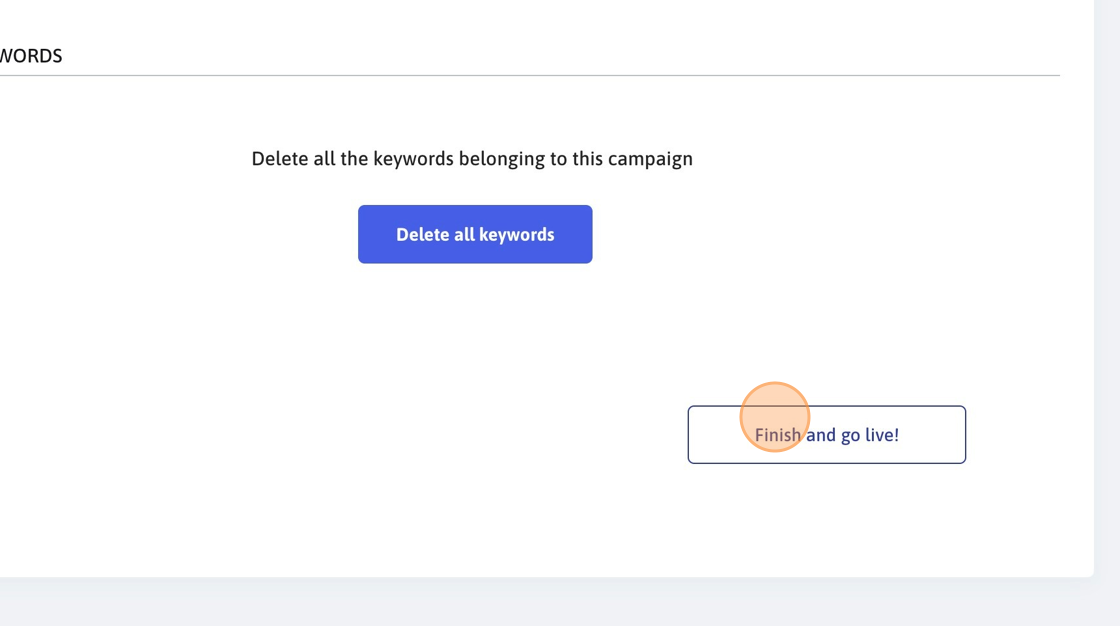
45. Make sure that your campaign is healthy and active. If it’s not healthy, review all the fields to make sure they’re all filled in.

Alert: Wait for 24 hours and check to make sure that your keywords are found. If there are keywords that are not found (more than 10%), please get in touch. It’s normal to have a 10% not-found rate. We compensate for that anyway.
Keywords that are not found 4 times in a row during the past 3 days will no longer be retried for one day. In exchange, the system sends more sessions to keywords that are found.
You should periodically (once a month or so) update the keywords as you might start ranking for new keywords. This is very important.
46. 24 hours later, check the statistics to make sure your website is found.

47. Click "Keywords not found? We’ll fix them for free!"


